Here is a simple Blouse Stitching Step-by-Step Guide with images that you can also use on your website or blog.
1. Take Body Measurements
Before cutting fabric, take proper measurements.
Common blouse measurements:
- Bust
- Waist
- Shoulder
- Armhole
- Sleeve length
- Blouse length
- Neck depth (front & back)
Correct measurements help make a perfect-fitting blouse. (VibhasFashion)
2. Draft the Blouse Pattern


- Draw the blouse pattern on paper.
- Mark bust line, waist line, and shoulder.
- Draw the front and back neckline shape.
- Add seam allowance (usually 1–1.5 cm).
- Mark darts for a fitting.
This paper pattern will guide the cutting process.
3. Cut the Fabric
- Fold the blouse fabric.
- Place the paper pattern on the fabric.
- Mark with chalk.
- Cut the front, back, and sleeve pieces carefully.
- Also, cut the lining fabric if needed.
4. Stitch the Darts
Darts give shape to the blouse.
Steps:
- Fold along dart lines.
- Stitch from the wide end to the narrow end.
- Press with an iron for a smooth fit.
5. Join Shoulder Pieces
- Place the front and back pieces together.
- Stitch the shoulder seams.
- Finish edges with overlock or zigzag stitch.
6. Attach Sleeves


- Prepare the sleeve pieces.
- Stitch sleeve hem.
- Attach sleeves to armholes.
- Make sure there are no wrinkles.
7. Stitch Side Seams
- Align the sleeve and blouse sides.
- Stitch from the sleeve end to the blouse waist.
- Check fitting before final stitch.
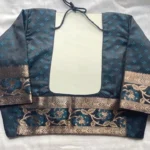
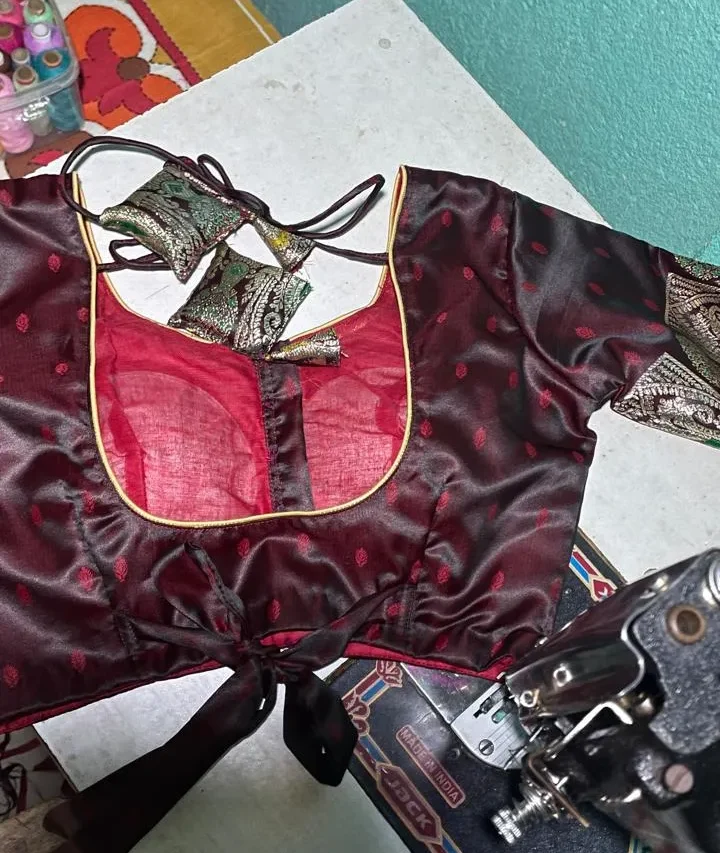
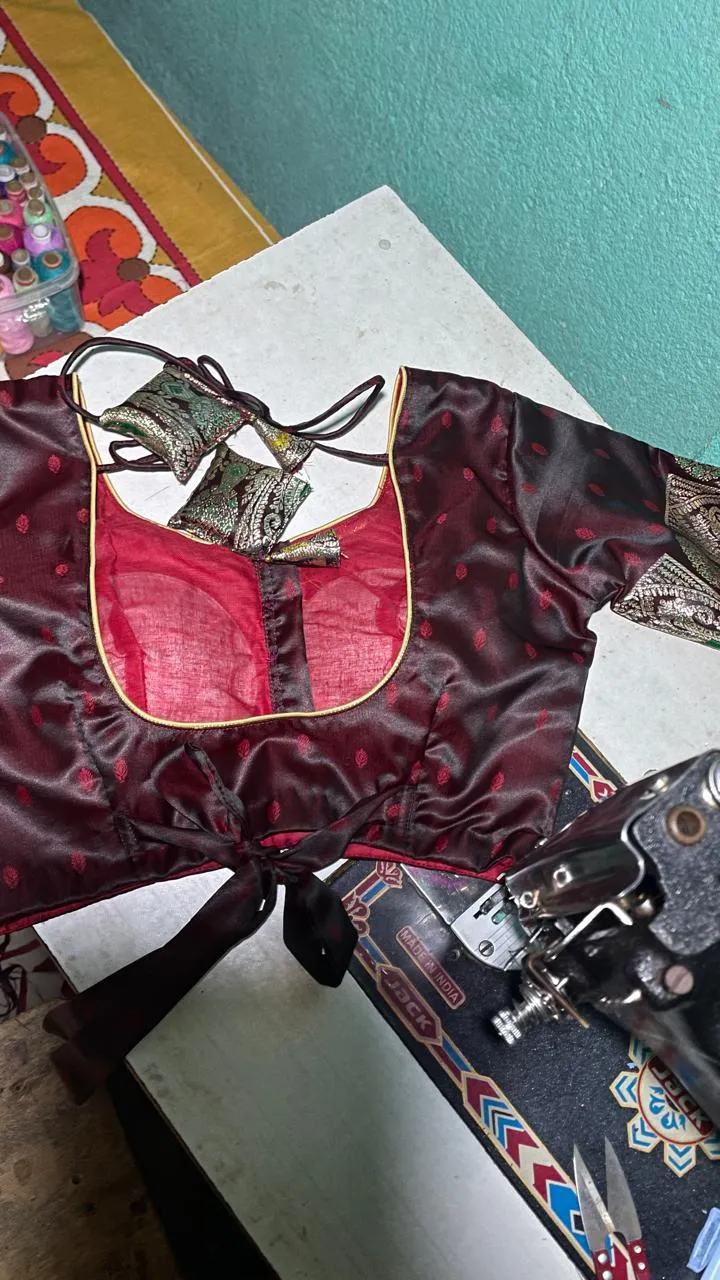
8. Finish Neckline and Edges
- Attach piping or facing on the neckline.
- Stitch the blouse’s bottom hem.
- Add hooks, buttons, or a zipper.
Final step: Iron the blouse for a clean finish.
🎥 Video tutorial (very helpful for beginners):
Simple Blouse Cutting and Stitching Tutorial for Beginners